Setting up Linkly Cloud, step by step guide plus troubleshooting
In this article you'll find details on:
Pairing to the Point of Sale - alternative method
Repairing to the Point of Sale
Have questions or need support, we're here to help. support@linkly.com.au or call us on 02 9998 9800
What you will need:
|
Item |
Details |
|
A Linkly-compatible Point of Sale (POS) |
Visit the Linkly website here to check if the POS provider is accredited for Linkly Cloud. |
|
A Linkly-compatible payment terminal |
The terminal provider will provide a payment terminal that is compatible with Linkly Cloud. |
|
Linkly Cloud credentials |
The Linkly Cloud credentials are used to connect the merchant Point of Sale (POS) to a Linkly-compatible payment terminal. Compatible payment terminals are:
Linkly Cloud credentials will be sent via email to the email address nominated as part of the merchant application. If the Linkly Cloud credentials can’t be located or need to be reset, contact Linkly Support. |
|
Wi-Fi or Ethernet connection |
A Wi-Fi or Ethernet network connection is needed to enable the payment terminal to connect to the POS via the Linkly Cloud. |
Pairing to the Point of Sale
| Step | Terminal display | Action |
| 1 |  |
Press ‘Func’ and enter ‘7410’ on the terminal. |
| 2 |  |
Press ‘2. Terminal Set Up’. |
| 3 | 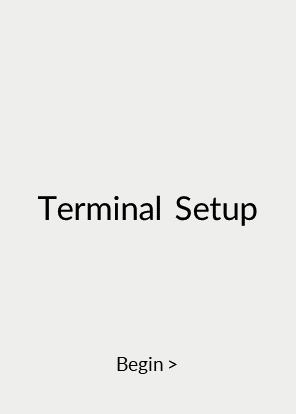 |
Press ‘Begin’. |
| 4 | 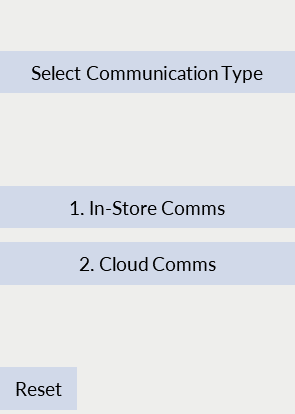 |
Press ‘Cloud Comms’. |
| 5 | 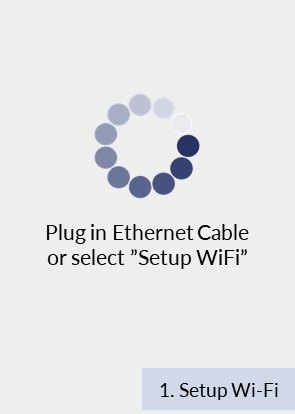 |
For Wi-Fi connection, press ‘Setup Wi-Fi’. Now, go to Step 6. For Ethernet connection, plug the Ethernet cable into your terminal. Now, go to Step 9. |
| 6 |  |
The terminal will scan for available Wi-Fi networks. |
| 7 | 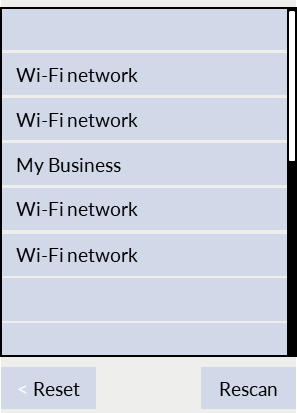 |
Select the Wi-Fi network and enter the Wi-Fi password. |
| 8 |  |
The terminal will display the network settings of the selected option. Press ‘Next’. |
| 9 | 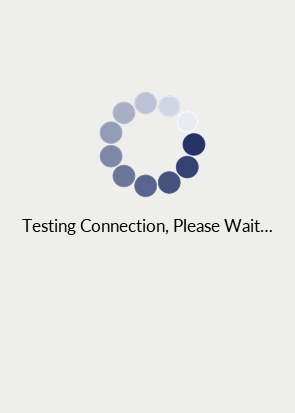 |
The terminal will display the following screen while it tests the network connection. |
| 10 |  |
The Cloud terminal setup has been completed. Press ‘OK’. |
| 11 | 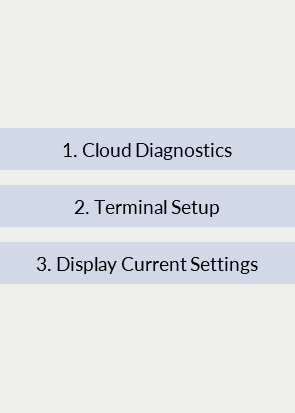 |
Press ‘Cancel’ to return to the Home Screen and continue with the pairing process. |
| 12 |  |
The terminal will prompt the PIN Pad Pairing Code generation. Press ‘Enter’ to generate a new Pairing Code. |
| 13 | 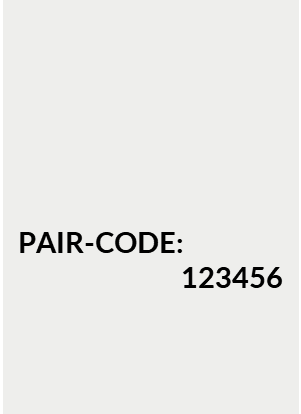 |
The terminal will generate a 6-digit pairing code that will need to be entered into the Point of Sale. Note: There is a time limit of 180 seconds to complete the pairing to the Point of Sale using this code. If the pairing takes longer, the solution will time out and return to the Cloud Online screen. Press ‘Enter’ to start the pairing process again if it times out. |
| 14 |  |
Navigate to the Point of Sale. In the Point of Sale, you will need to enter the Linkly credentials supplied via email and the Pairing Code displayed on the terminal. Note: The actions of the POS will differ depending on the POS vendor solution. |
Pairing to the Point of Sale - Alternative method
| Step | Terminal display | Action |
| 1 |  |
Press ‘Func’ and enter ‘11112227’ on the terminal. |
| 2 |  |
Press ‘Enter’ to proceed with configuring the terminal communications. |
| 3 | 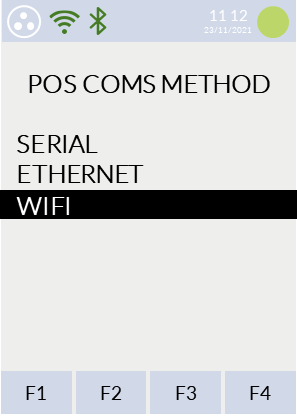 |
Select Wi-Fi or Ethernet connection. |
| 4 |  |
The Host address should be entered as pp.cloud.pceftpos.com. Press ‘OK’ to proceed. |
| 5 | 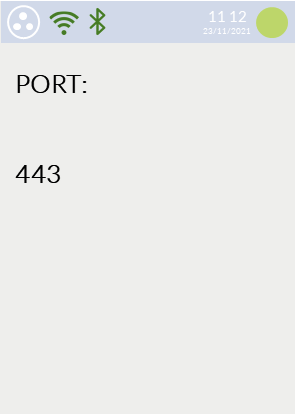 |
The Client Port should be entered as 443. Press ‘OK’ to proceed. |
| 6 | 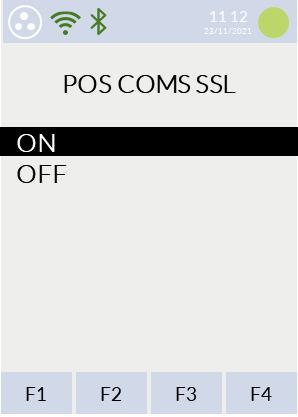 |
The POS Comms should be On. Press ‘OK’ to proceed. |
| 7 | 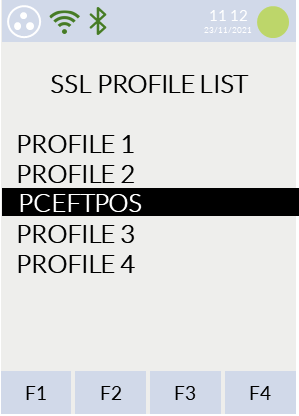 |
The SSL Profile List selected should be ‘PCEFTPOS’. |
| 8 |  |
Press ‘Enter’ to generate a new Pairing Code. |
| 9 |  |
The terminal will generate a 6-digit pairing code that will need to be entered into the Point of Sale. Note: There is a time limit of 180 seconds to complete the pairing to the Point of Sale using this code. If the pairing takes longer, the solution will time out and return to the Cloud Online screen. Press ‘Enter’ to start the pairing process again if it times out. |
| 10 |  |
Navigate to the Point of Sale. In the Point of Sale, you will need to enter the Linkly credentials supplied via email and the Pairing Code displayed on the terminal. Note: The actions of the POS will differ depending on the POS vendor solution. |
Repairing with the Point of Sale
This process must be performed in the event of:
- A change to the Linkly Account credentials.
- Connecting the terminal to another POS.
| Step | Terminal display | Action |
| 1 |  |
Press ‘Func’ and enter ‘8880’ on the terminal. |
| 2 |  |
The terminal will prompt the PIN Pad Pairing Code generation. Press ‘Enter’ to generate a new Pairing Code. |
| 3 |  |
The terminal will generate a 6-digit pairing code that will need to be entered into the Point of Sale. Note: There is a time limit of 180 seconds to complete the pairing to the Point of Sale using this code. If the pairing takes longer, the solution will time out and return to the Cloud Online screen. Press ‘Enter’ to start the pairing process again if it times out. |
| 4 |  |
Navigate to the Point of Sale. In the Point of Sale, you will need to enter the Linkly credentials supplied and the Pairing Code displayed on the terminal. Note: The actions of the POS will differ depending on the POS vendor solution. |
Troubleshooting and support
| Screen | Screen | Detail |
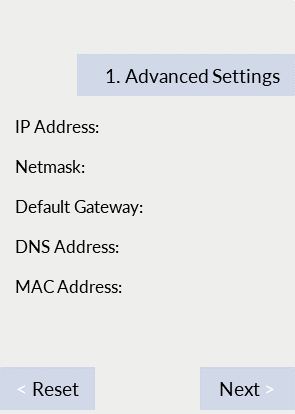 |
Advanced settings |
Select ‘1. Advanced Settings’ in the terminal setup process (see Step 8 in Section 1.2 Pairing to the Point of Sale) to manually configure the settings. |
 |
Cloud diagnostics |
This screen can be accessed by pressing ‘Func’, entering ‘7410’ on the terminal and then selecting ‘1. Cloud Diagnostics’. This screen can be used by merchants and support staff to validate the connection status. Select ‘Details’ to view the details of the connection. |
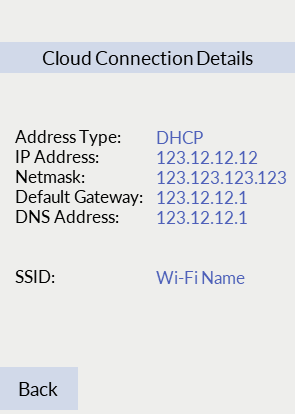 |
Cloud Connection details |
This screen can be accessed by pressing ‘Details’ on Cloud Diagnostics screen. |
 |
Display Current Settings |
This screen can be accessed by pressing ‘Func’, entering ‘7410’ on the terminal and then selecting ‘3. Display Current Settings’. |
Common error messages
| Screen | Screen | Detail |
 |
Cloud Connect Failure |
This screen will be shown when there is a Cloud connection failure after completing The Cloud Wizard Setup. How to resolve:
|